
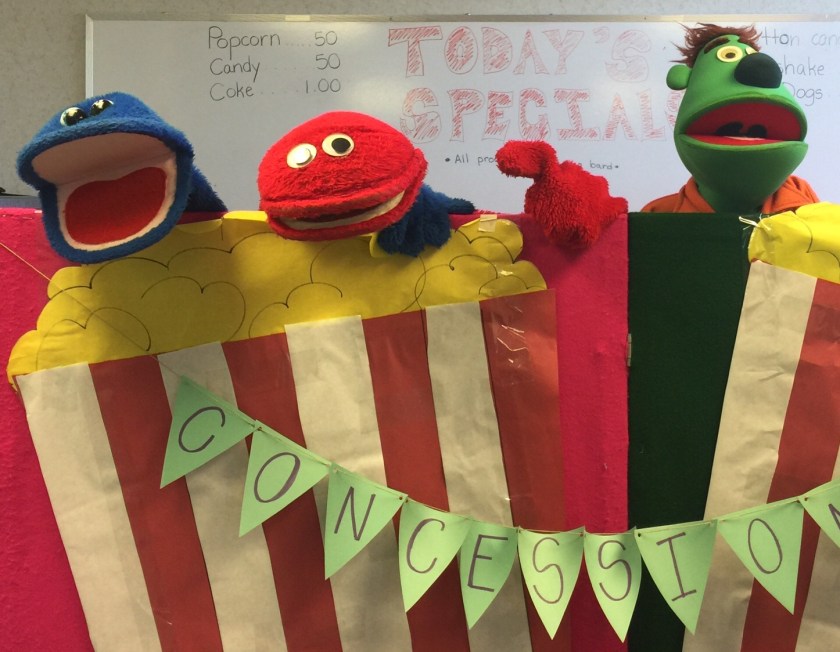
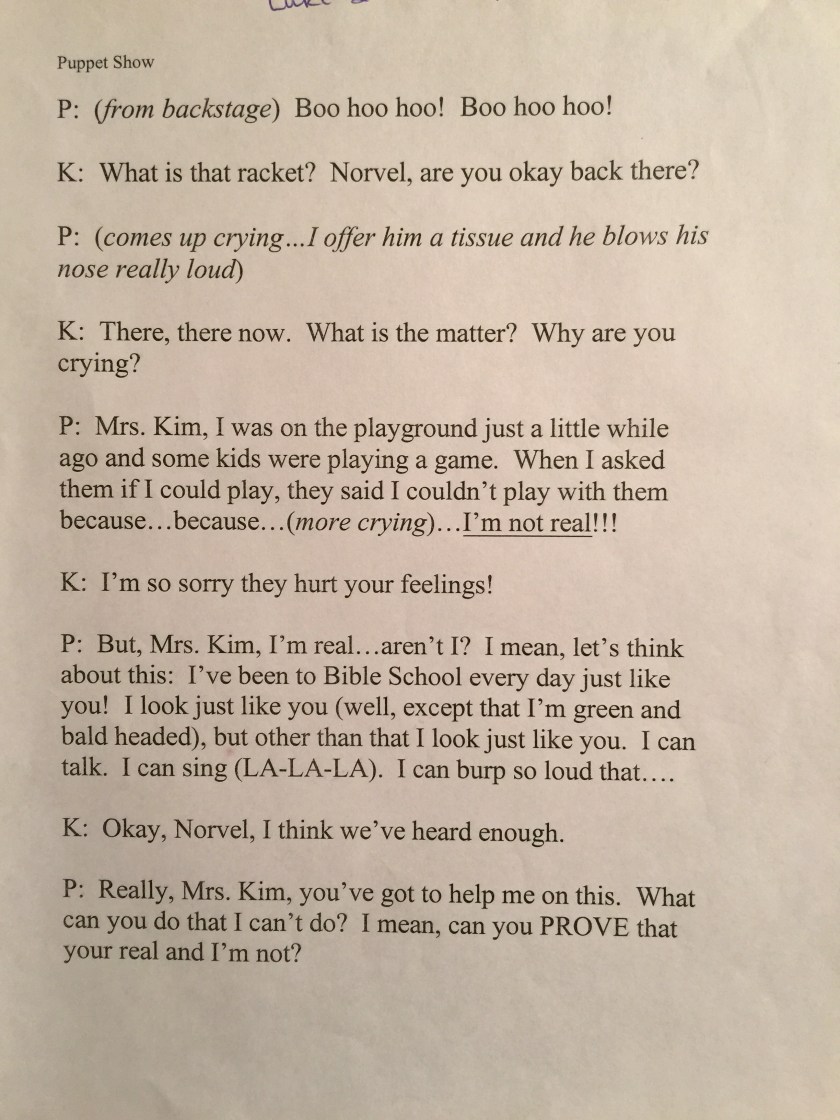
 Preschoolers love puppets! This script is a perfect segue into the fact that Jesus proved He was real after the resurrection. He didn’t simply appear to his followers, He let them touch his nail scarred hands & He ate with them.


Preschoolers love puppets! This script is a perfect segue into the fact that Jesus proved He was real after the resurrection. He didn’t simply appear to his followers, He let them touch his nail scarred hands & He ate with them.
Use this easy finger play to teach preschoolers the Gospel message:

God made me (Hands forming something)
God loves me (hands cross over heart)
God wants me to follow Him (walk to the right)
But I want to go my own way (cross arms & walk to the left)
That’s called sin! (Whisper with hand to mouth)
And that’s a problem! (Tap chin)
Because God hates sin! (Mad face)
…but He loves me! (Hug yourself)
But God had a plan! (Finger up)
He gave His only Son, Jesus (hands extended)
To make a way for us (widen hands)
He came as a baby (squat and suck thumb)
And grew into a man (rise to stand-hands on hips)
He died on a cross (arms out-as on a cross)
Was buried (arms crossed-squat)
And rose 1-2-3 days later (rise on 3rd count)
He’s alive! He came to our rescue! (Hands up-celebrate!)
Thank you, Jesus! I’ll follow you! (Kneel-pray)

This is one of my favorite object lessons for preschoolers when sharing the Gospel message.
Instructions:


Application:

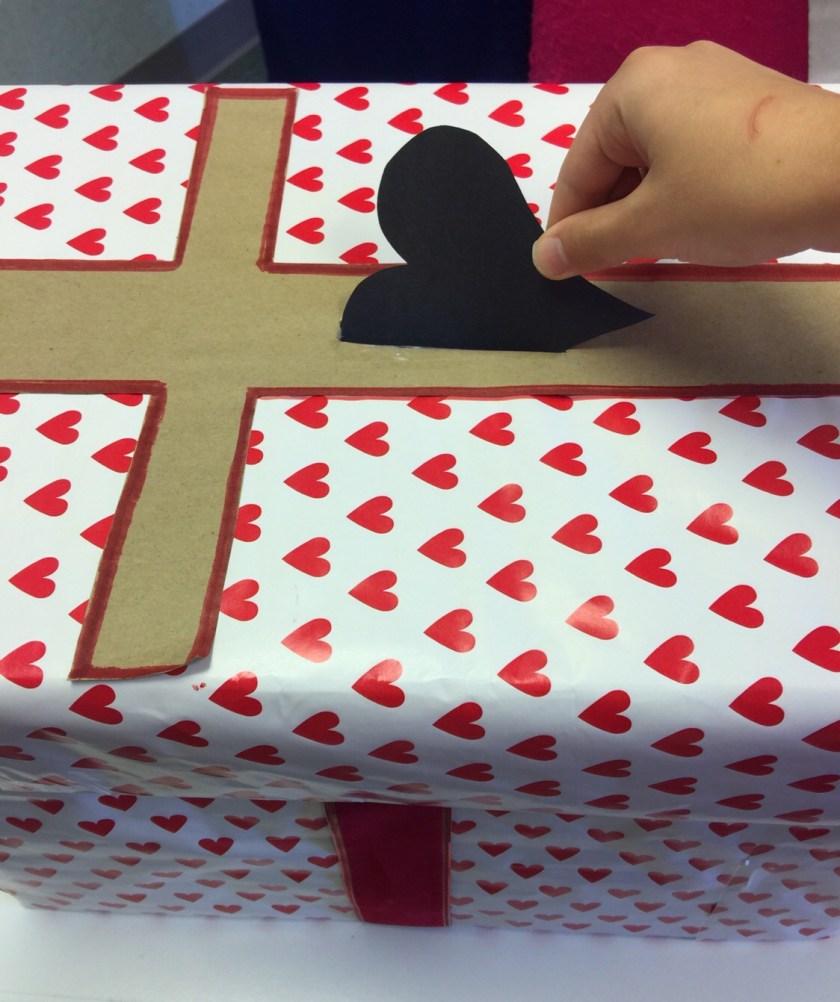

**if you have a large group, just use one large black heart that only you put in the lid as a demonstration & reveal an identical large white heart in the box.
Either way, preschoolers never fail to be amazed by it!
Preschool Bible teachers seem to have many opportunities to talk about sheep! Bible stories for kids are filled with lessons about them! From Easter to Christmas…and everything in between…sheep and shepherds are a common biblical theme.
The following is a fun finger play for preschoolers written by Susan M. Dailey that would be a great complement to any lesson involving sheep.
I will be utilizing it this week as I teach the Parable of the Lost Sheep to kindergarteners. I think it will be one that will be recycled in many future lessons!
Please follow the link below to find the original fingerplay and accompanying song.
Dancing Sheep Finger Play by Susan M. Dailey
|
Dancing Sheep Shhh! It’s time to go to sleep “Don’t go to bed,” the one sheep said. Soon he was… (draw these words out) He kept on… Dancing on the ceiling! “Stop that dancing, silly sheep. Soon the sheep lay on the floor. So I started … (draw these words out) -written by Susan M. Bailey |

Where is the Green Sheep by Mem Fox is a great companion book when teaching The Parable of the Lost Sheep to preschoolers. Although Ms. Fox’s book is not based on the biblical lesson, it is a fun rhyming book about a lost sheep (that is found in the end) that would complement the parable in a way that preschoolers would enjoy.
Below is a link to a You Tube storyteller reading the book:
You can find the book online at various retailers.
I made a large version to read to my class from coloring pages based on the book purchased here:
Where is the Green Sheep Coloring pages
We can remind the children that just like we looked for the green sheep in the story…Jesus searches for us when we are lost.

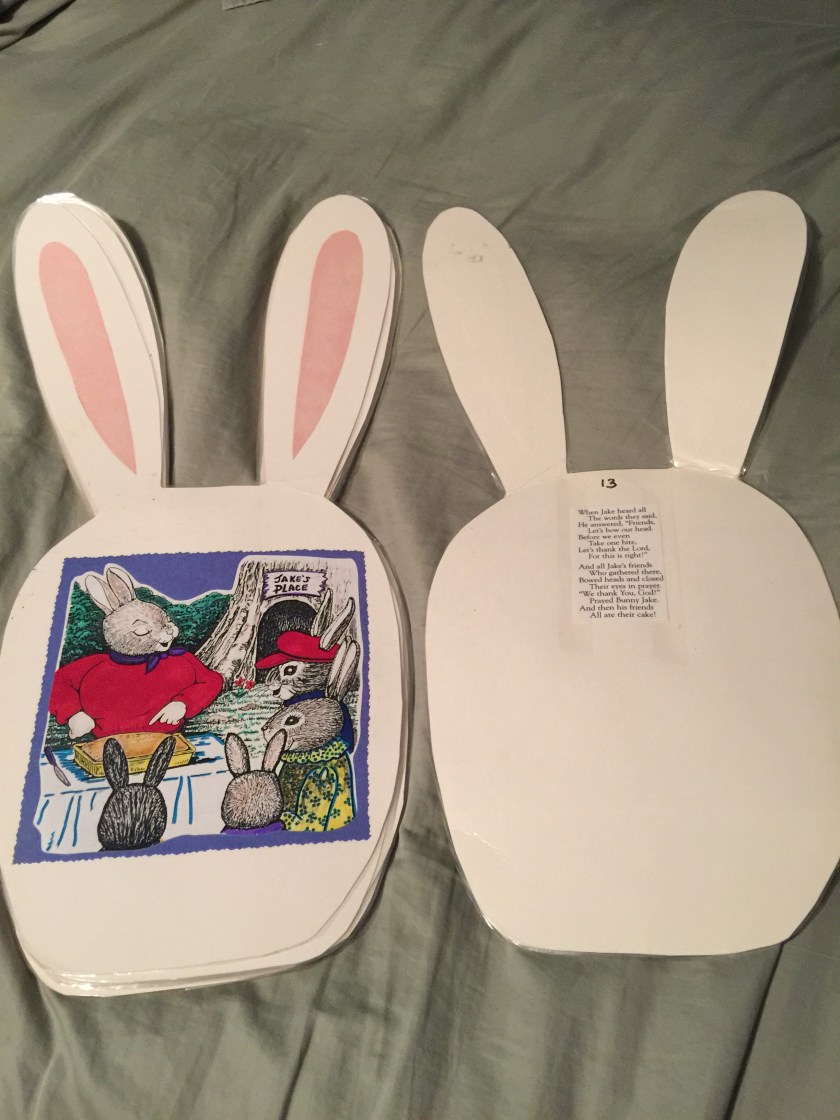
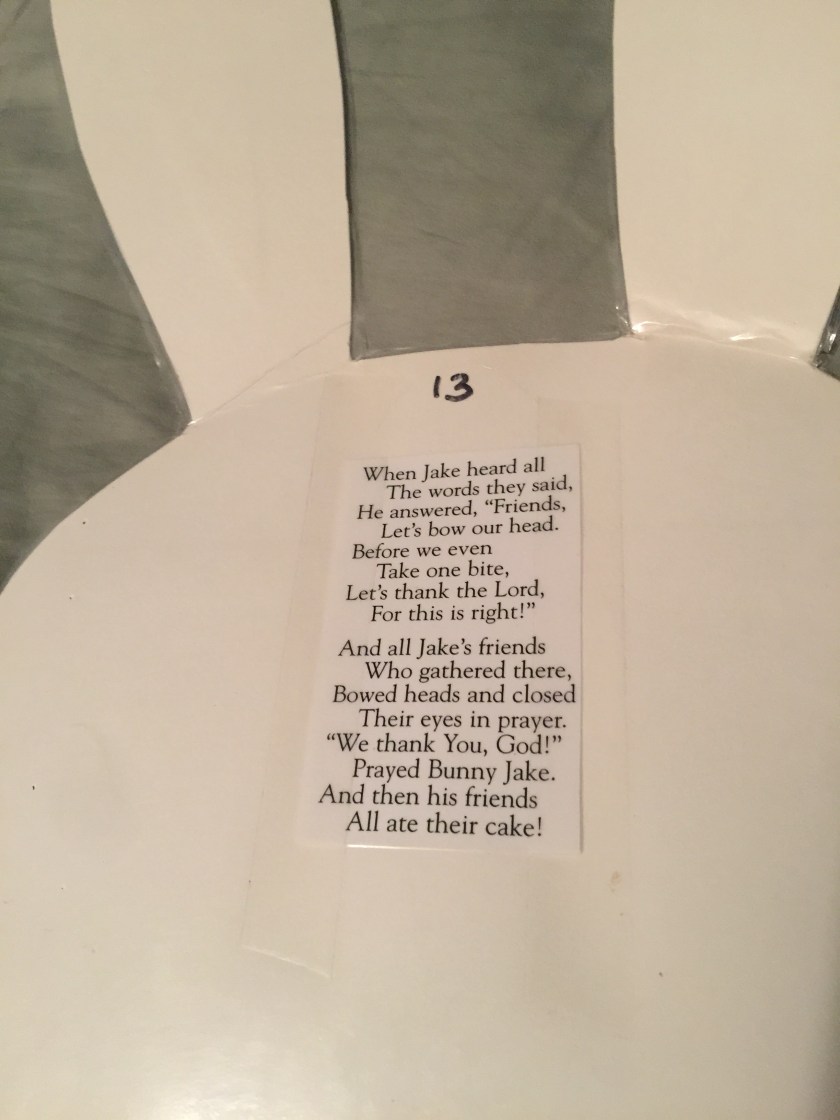
Turn any storybook or Bible story into a large visual to read to your class by cutting large simple shapes out of poster board, gluing enlarged pictures or clip art illustrations to the front & the story to be read on the back! The kids love it because they are able to see the pictures & teachers love it because it’s easy to read!
A Bible Story on Noah’s Ark could be in the shape of an ark…a Christmas story in the shape of a star, manger or angel…the story of Moses in the shape of a basket…the possibilities are endless!
Make sure you laminate your story so that it can be re-used year after year!
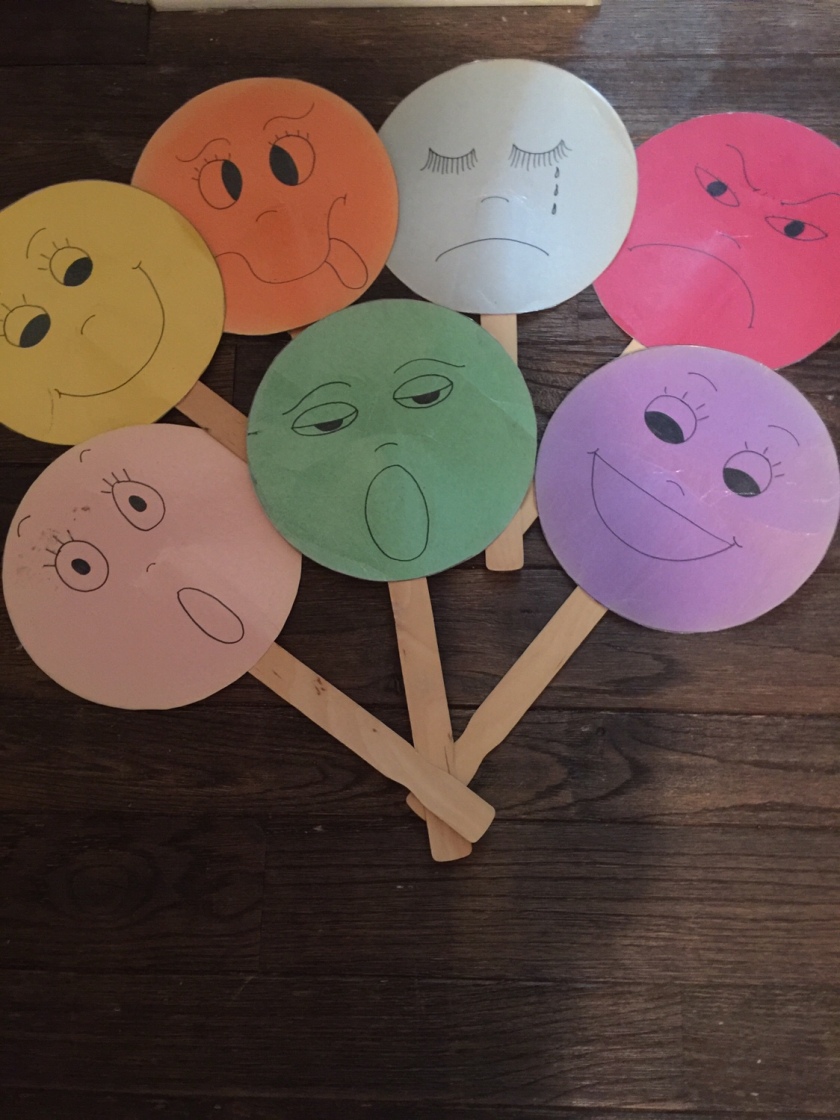
Happy Face Jingle:
“Happy Face, Happy Face what do you see?
I see a silly face looking at me! 🤪
Silly face, silly face what do you see?
I see a sad face looking at me!😢
Sad face, sad face what do you see?
I see a mad face looking at me! 😡
Mad face, mad face what do you see?
I see a surprised face looking at me! 😳
Surprised face, surprised face what do you see?
I see a sleepy face looking at me!😴
Sleepy face, sleepy face what do you see?
I see happy face looking at me! 😊
Happy Face, Happy Face what do you see?
I see another happy face looking back at me!” 😃
~author unknown
Items needed:
Instructions:

Tips & Tricks:

1 Samuel 17
David & Goliath Game
Items Needed:
Preparation:
Instructions:
Tips & Tricks:


Items Needed:
Instructions:
First team to find all their pieces & put their puzzle together wins!
Tips and Tricks:
